
Timesaver Tip: How to Organize Data in Julep, Part 3
The beginning of the new year is a great time to review your Julep data to clean up or organize your Source Codes. Understanding the difference between Fund Codes, Program Codes, Initiative Codes and Source Codes helps your nonprofit fully use all the available Julep tools and features. This post is the second part of a four-part series:
Note: Because Fund Codes are the top category to organize all other data, these should be limited and strategically created. Please contact Julep Customer Support to add or edit them.
How to Create & Edit Source Codes
Enter Source Codes Manually
If you only need to add a few Source Codes, there are two ways to manually enter them.
● Option 1: Once you set up your Initiative Code, click on the Create Single Source Code button. A new Source Code will appear under the tab.

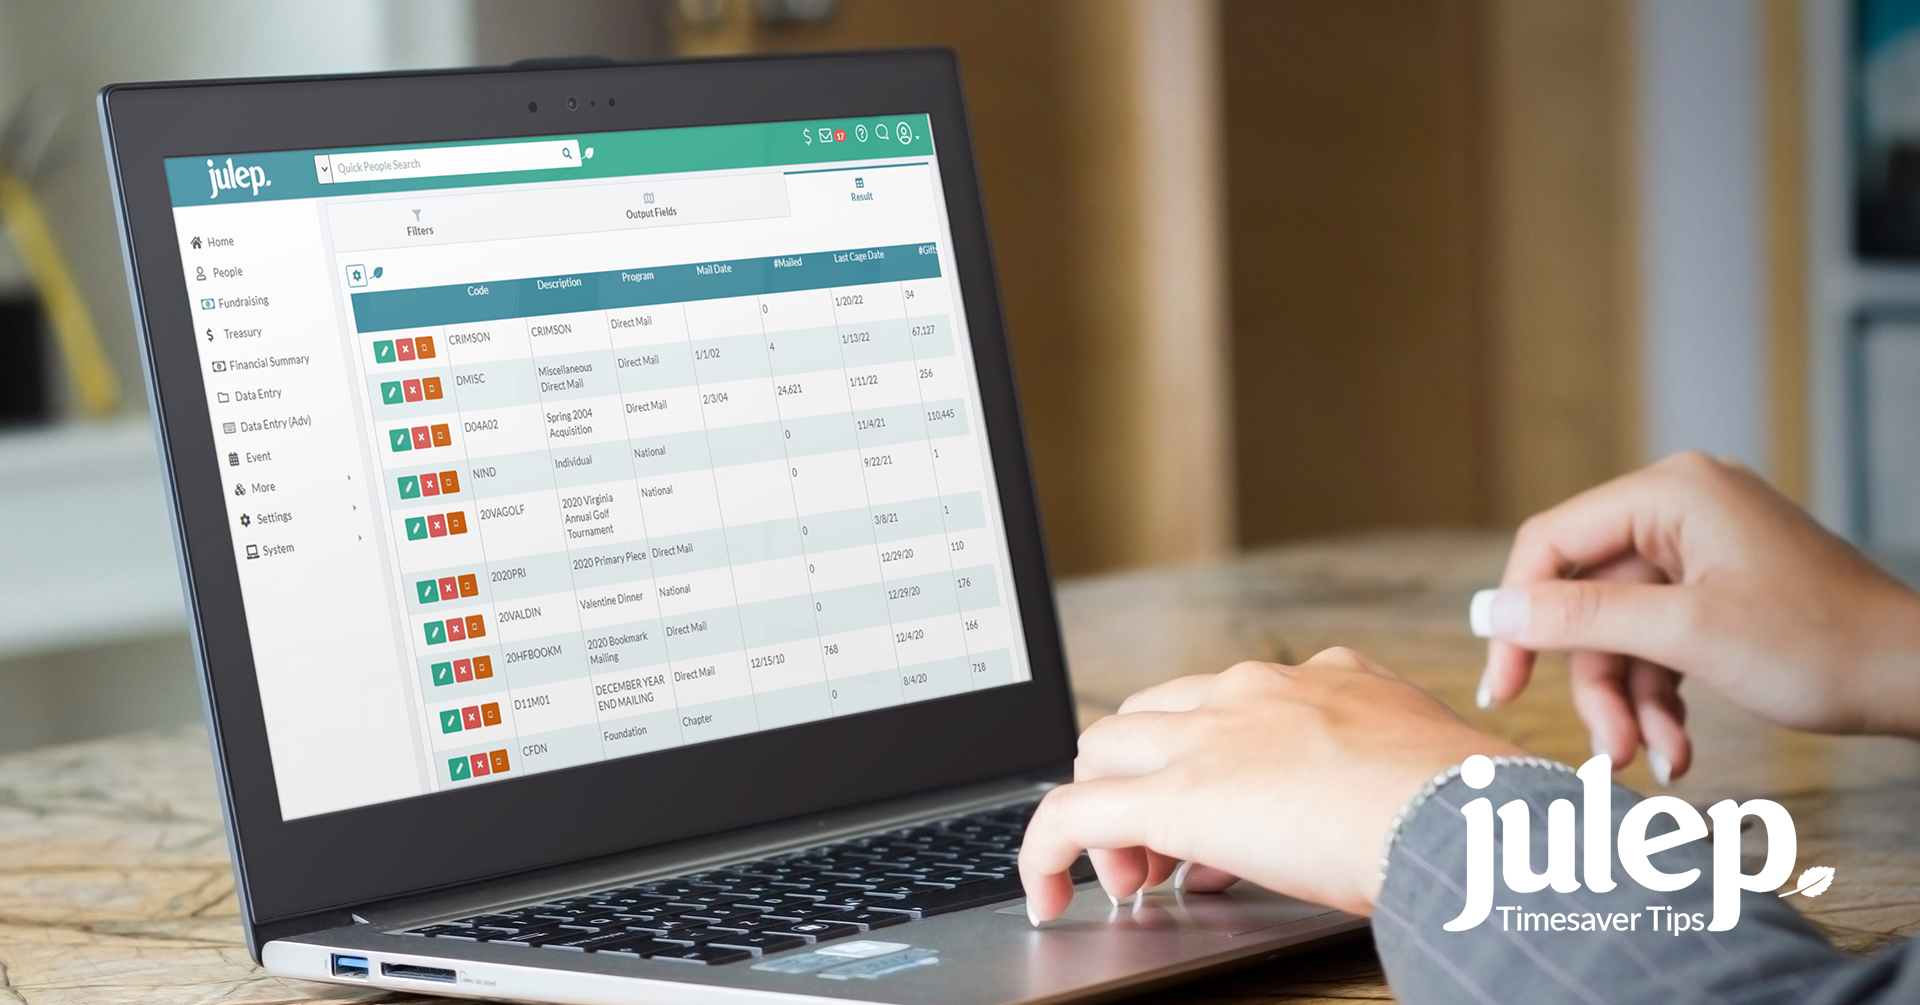
● Option 2: Return to the Settings section under the Fundraising Dashboard and click on the Source Tab. Click on the blue Add button.
Once you enter the information to set it up, click on the blue Save button.

Import Source Codes
1. Before importing your Source Codes, please download our template from the Helpdesk. This template is a spreadsheet that contains the required fields — Source Code and Source Description.
2. Confirm that the correct Initiative Code has been entered into Julep.
Note: Make sure you only have one worksheet named Source saved in your Excel file.

3. From the Initiative Tab, select the Initiative Code to which you want to add the Source Codes and click on the green Edit button.
4. Once the Initiative Code opens, click on the blue Import Source Codes button. The import tool will open. Follow the steps to upload your CSV file and click on the blue Save button.
5. Your Source Codes should be uploaded and saved in Julep.