
Timesaver Tip: Saved Searches

Saved and Recent Searches is one of Julep’s most flexible features that allows you to build custom searches and reports. Once saved, you can then use the Email Scheduler tool to schedule these custom searches and reports to run automatically at specified times. Custom searches can be saved across most Julep searches including:
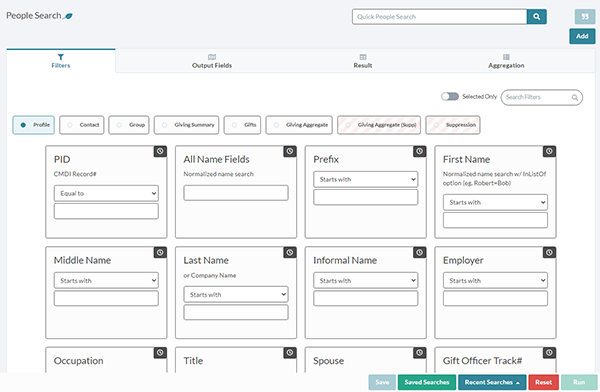
People Search
Money Search
Payee Search
Expenditure Search
Receipt Search
Data Entry Search
Events Search
Also, Julep automatically preserves the last 10 searches so that you can go back later and save them as a custom search.
How to Save a Custom Search:
1. When you want to create a detailed search query in Julep, go to the dashboard of the section of the desired search. At the top of the page, you will see the Dashboard Navigation Bar. This bar will always include links to relevant searches.
For example, from the People Dashboard, you can access the People Search and Action Search.

From the Money Dashboard:
Money Search
People Search
Source Code Search
Initiative Search
Fundraising Dashboard:
Money Search
People Search
Source Code Search
Initiative Search
Treasury Dashboard:
Payee Search
Expenditure Search
Receipt Search
Financial Summary Dashboard:
Payee Search
Invoice Search
Expenditure Search
Event Dashboard:
Event Search
Gift Officer Portfolio:
Gift Officer Search
People Search
Money Search
2. Click on the search you want to use. The Julep search page will open with options for detailed Filters, Outputs, and Results options. Select the Filters needed to run the query.
4. Click on the green Run button to see the results of your search.
5. To save the search, click on the blue Save button.
6. Enter a name to save the search and review the Filters and Output Fields used under Search Summary.

7. Click on the blue Save button.
8. The Saved Search will appear with a green confirmation ribbon.
How to edit a Saved Search:
1. From the Search page, click on the green Saved Searches button.

2. The searches you have previously saved will appear.

Under each of the searches, you will see these options to Open Search, Show Summary, Duplicate Search and Delete Search.
Open Search: Click this button to return to the search page with the Filters you selected to be saved.

Show Summary: Click on this button to see a summary of the Filters and Output Fields used in the saved search.

Duplicate Search: Click on this button to create a copy of this saved search.

Delete Search: Click on this button and a confirmation message will appear to verify that you want to delete the search.

Note: For information on how to set up Scheduled Emails, see the Julep Helpdesk guide on the Email Scheduler.
How to Open a Recent Search:
1. From your Filter page under Search, click on the blue Recent Searches button.

2. A list of the 10 most recent searches will appear.

3. Click on the search you wish to open.